Two More Sketchbooks

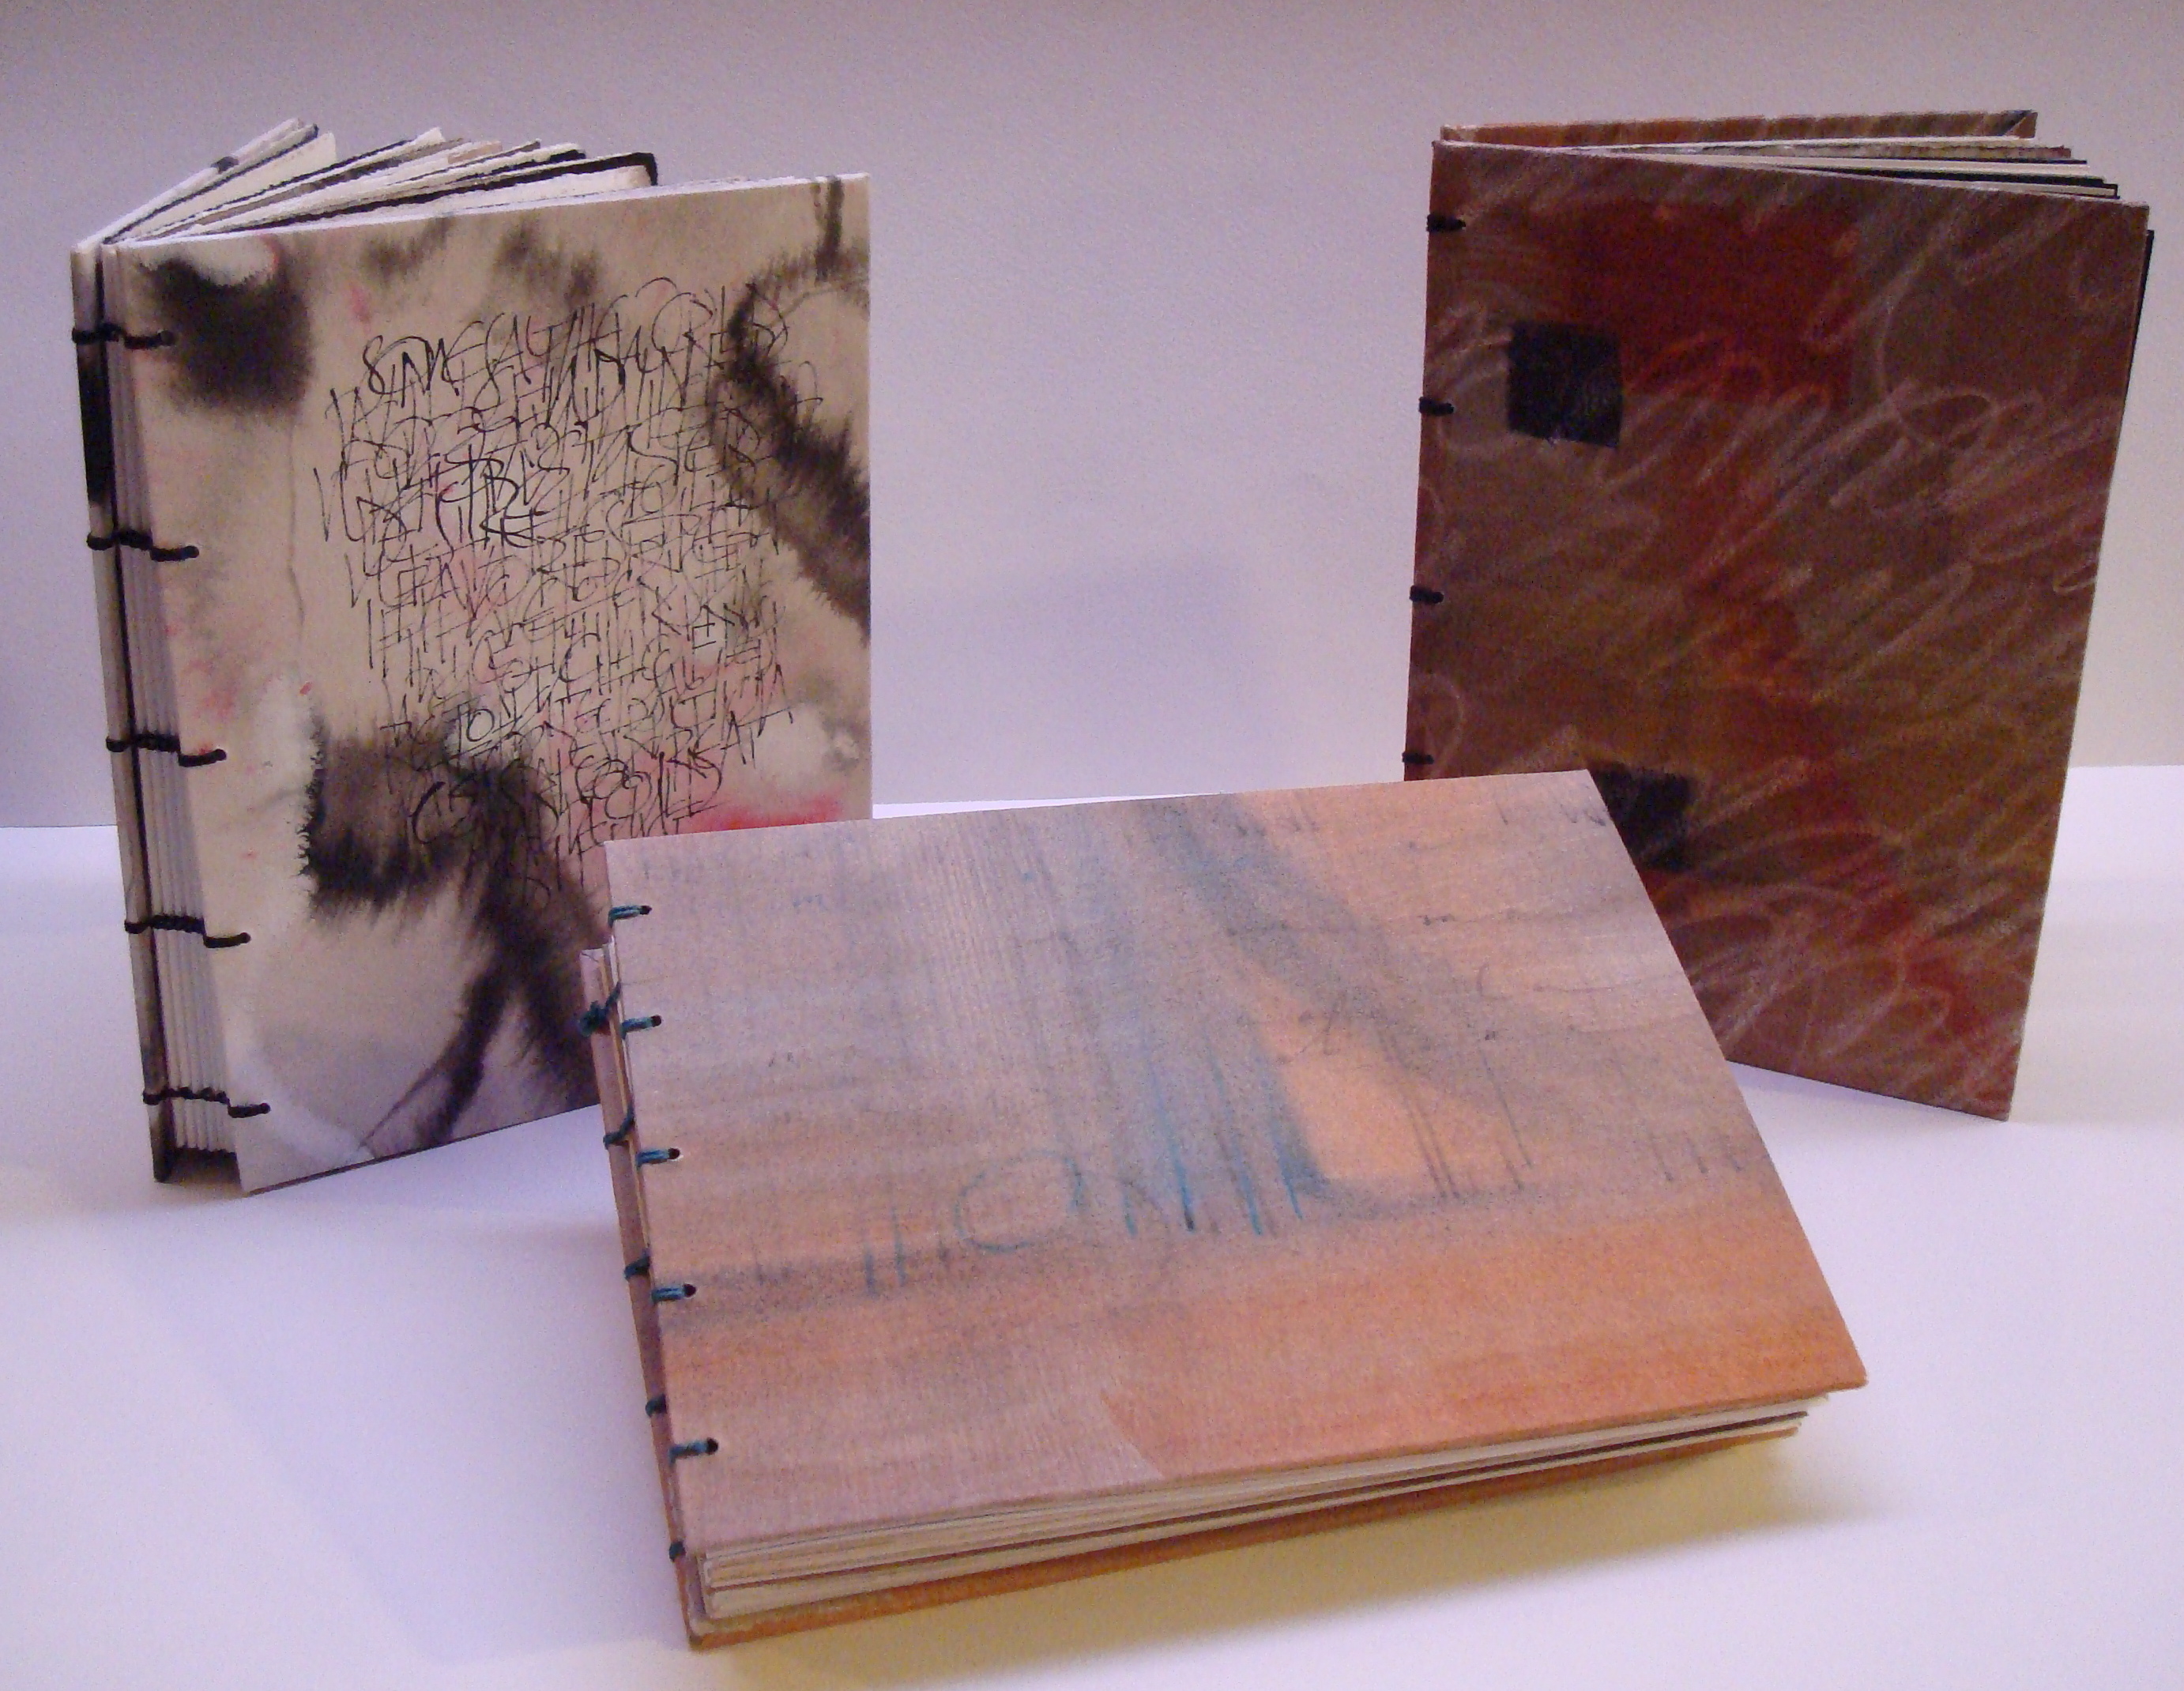
Just finished binding two more sketchbooks.  I’d intended to make two books, but I’d covered the boards first and then when I gathered the signatures, I didn’t like the color combination.

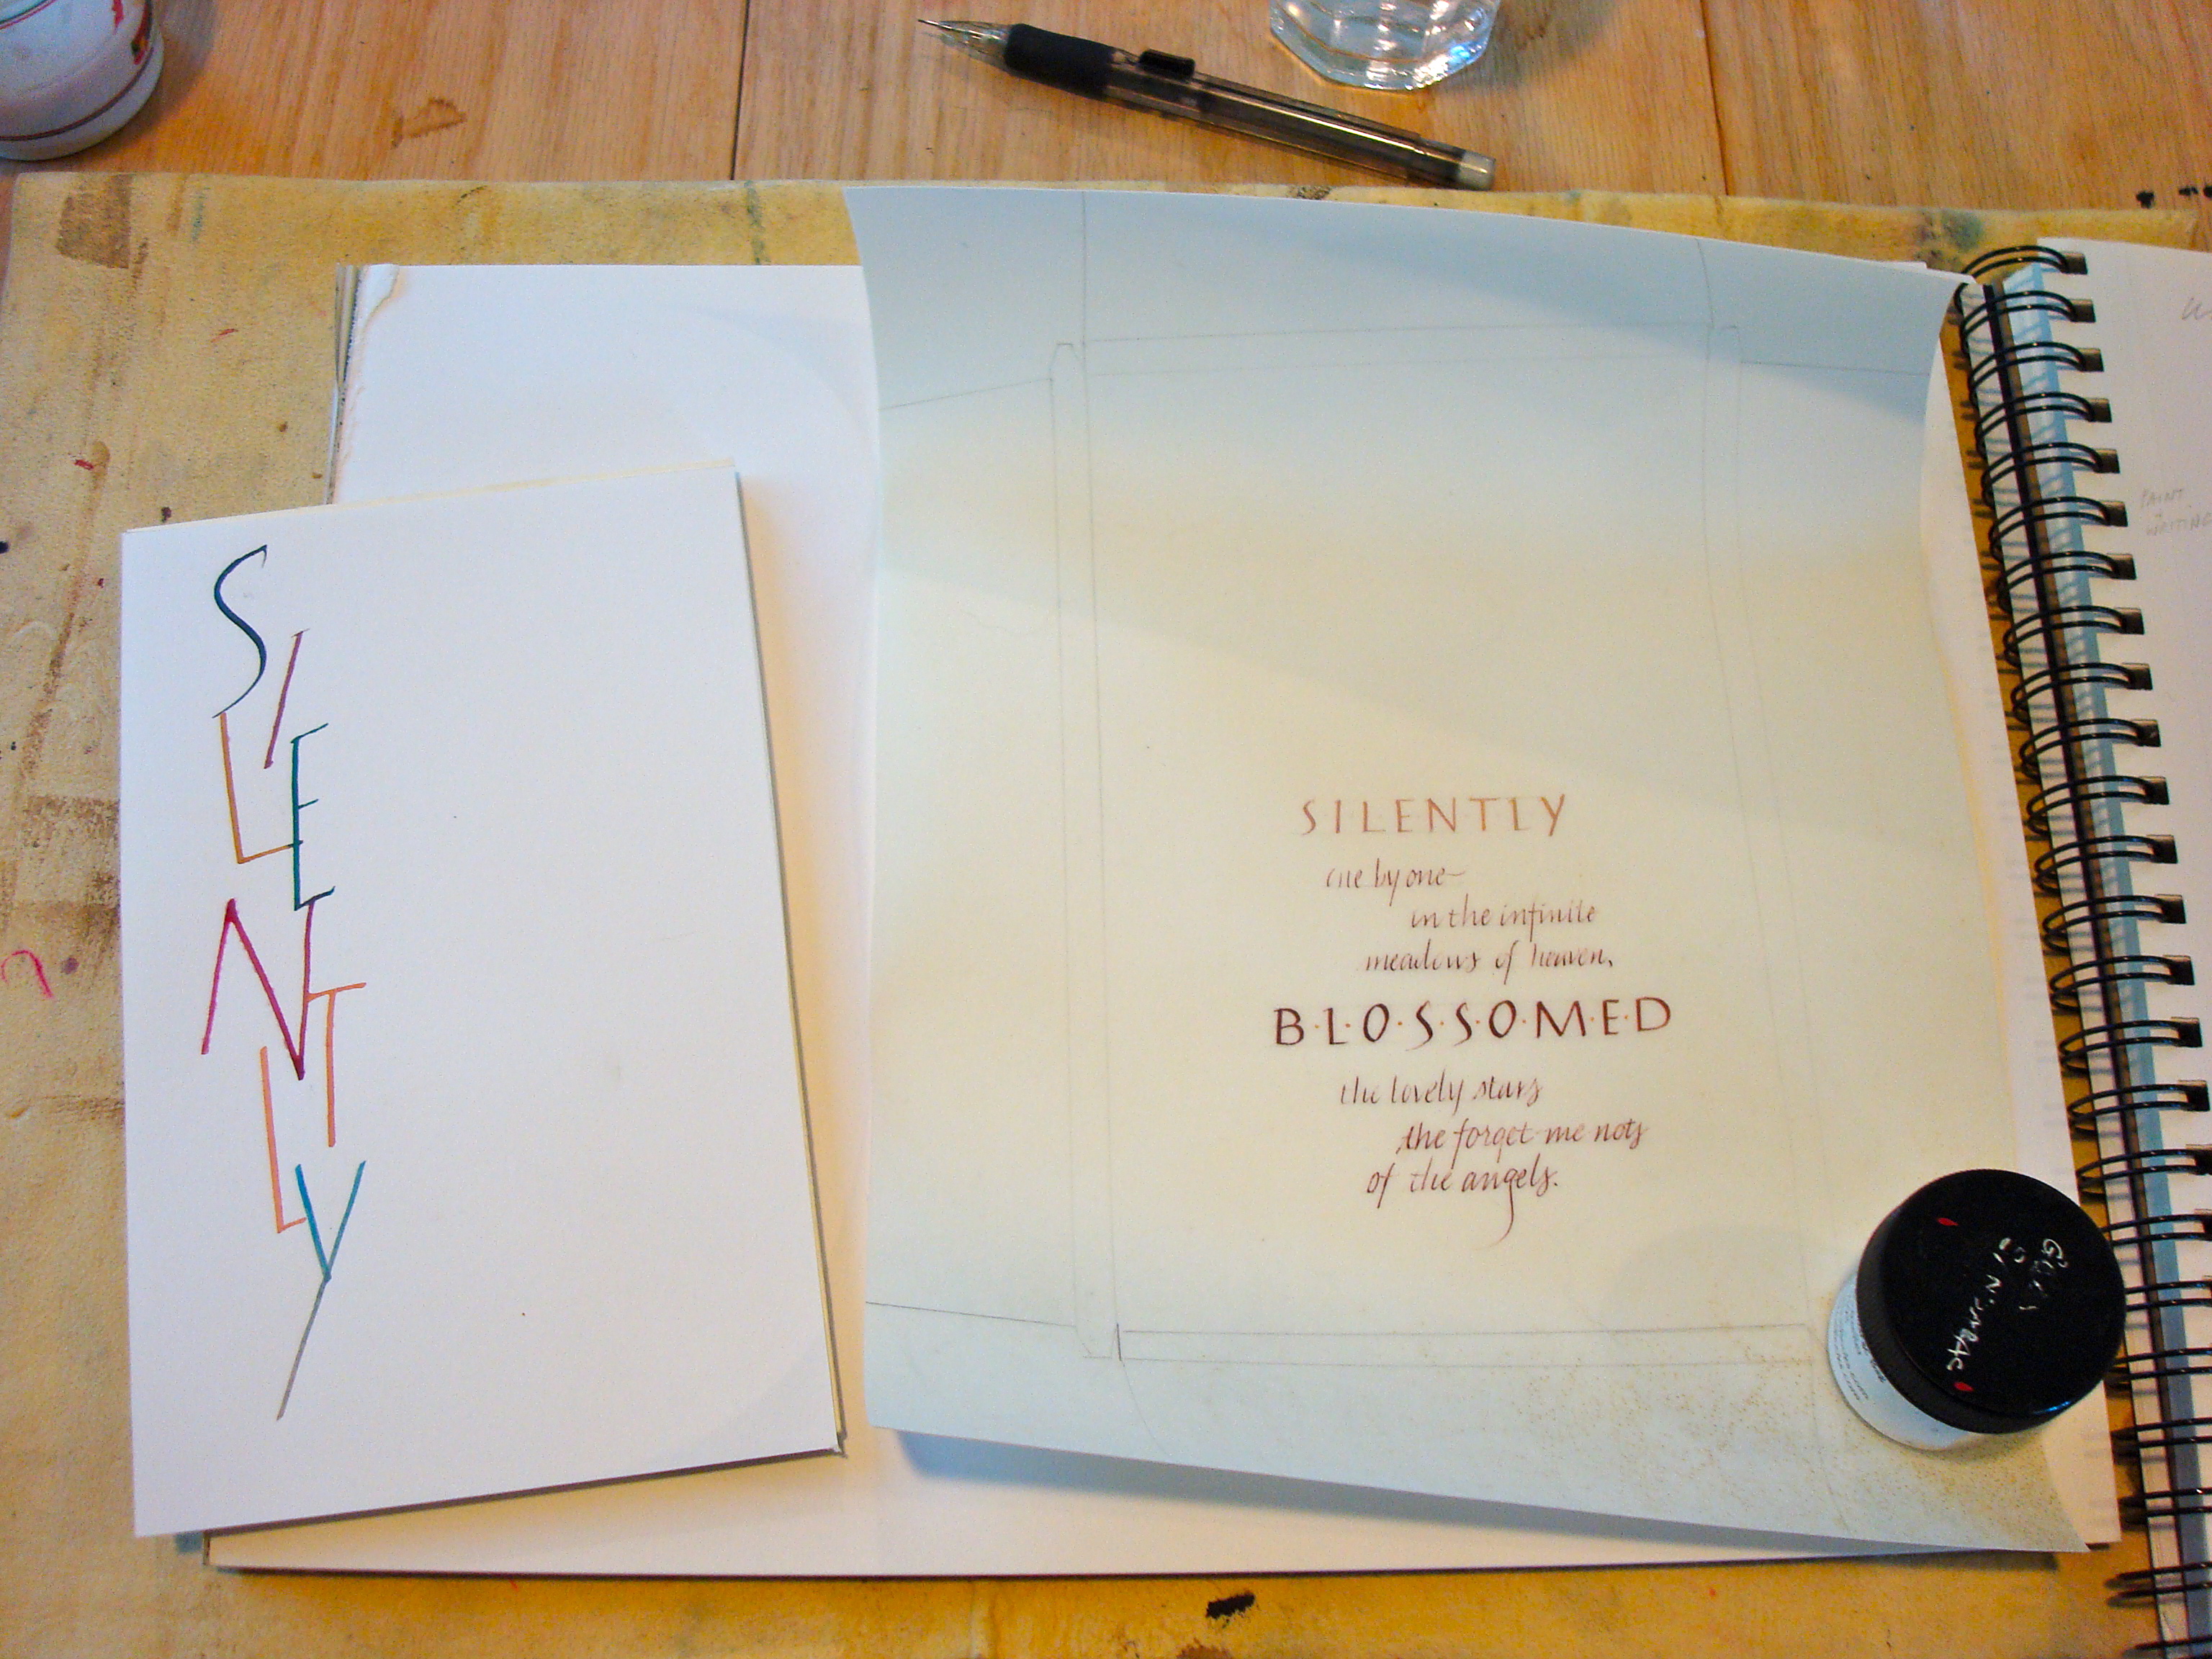
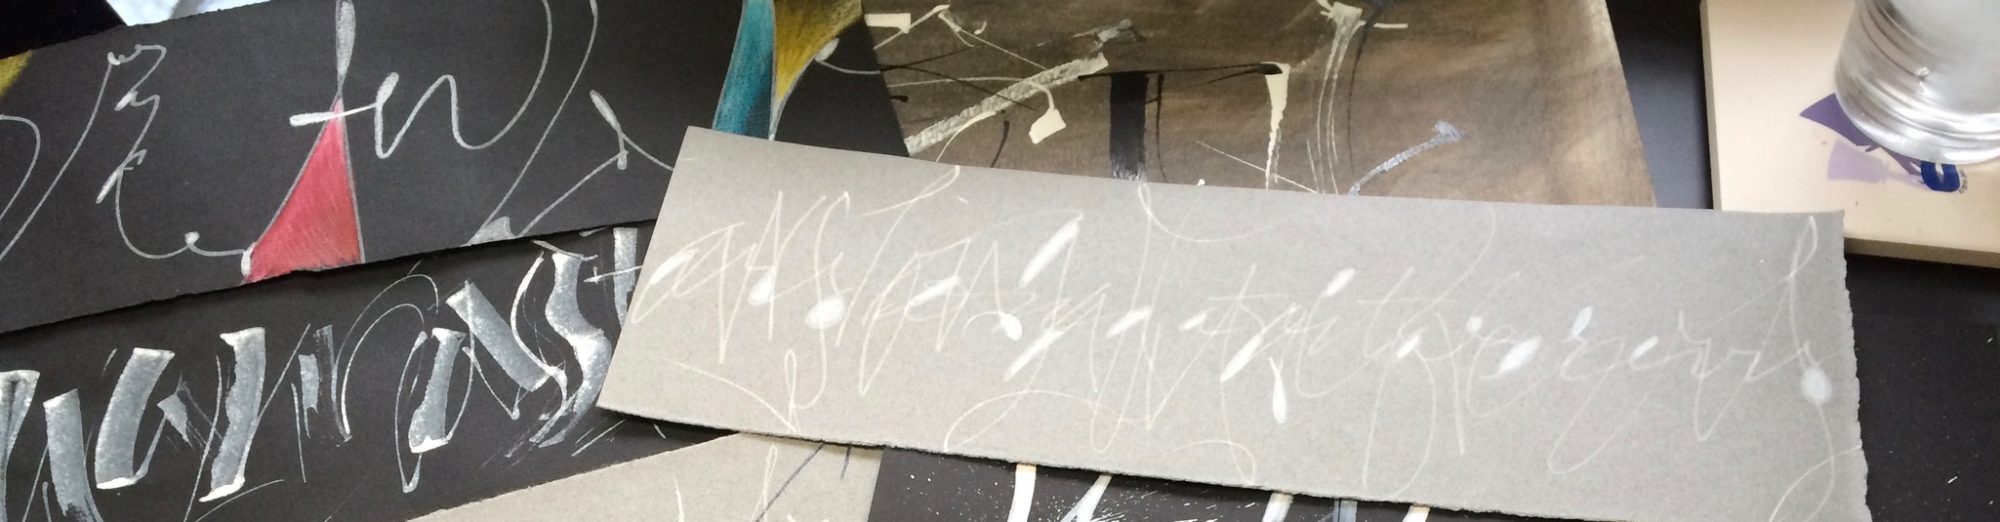
So I went back into the paper stack and covered new boards in black and white for the already gathered signatures. While the new boards dried, I chose more papers for signatures in the horizontally stitched book.  This time I used Arches MBM and Bugra (camel) paper with more blank pages which should make the horizontal book a little more watercolor friendly.


It’s fun, easy and I have no reason now to skip daily drawing and writing.

Random Papers and a Coptic Sketchbook

Here’s something to do with all those papers that aren’t quite frameable art, but way too wonderful to toss away. The paper is Arches velin (text wove). Using watercolor, pencils, china marker and sumi, I’d made quite a collection of paper. Using precut Davey board from John Neal Books (5×7), I covered them using one of the half sheet papers.  The inner signatures are made using the decorated papers, plain Arches text, and black Hahmemule ingres.  Bound with a Coptic stitch using black book thread, I now have a small sketchbook to carry with me. You can find Youtube video  instructions online in several places for the coptic stitch. 


Thanks to Laurie Doctor for sharing her wonderful sketchbooks with us at Cheerio and spurring me to create some of my own. I promise to post some of the pages when I’ve added to them.

Weekend with Denis Brown


I had the great fortune of spending the weekend at Annie Cicales’s in Fairland, North Carolina with six other calligraphers studying all the ins and outs of working on vellum.  We began with wonderful slunk (fetal or stillborn) calf skins hand chosen by Denis for us from Ireland.  Then from cutting, sanding and sandarac to writing materials, backing papers and finally stretching and mounting, we each produced delightful 5×8 pieces.


It was an amazing three days of work interspersed with video presentations by Denis where we marveled at both the diversity of his work and the myriad ways he’s incorporated calfskin into the most contemporary of calligraphic work.  Many thanks are owed to both Manny Murillo and Annie Cicale for all their hard work arranging and hosting us.

Sigh! Cheerio is over too soon.


We opened each morning with marks made in Sumi and the walnut ink. The marks were made with a large brush and with our eyes closed. David was the first to add a spontaneous and brilliant splat to his mark, but I don’t think Beth is going to forget how her “happy moment” with the walnut ink baptized us on the other side of the table.The papers were left on the table each day for us to annotate as we saw fit.

Billy was a master monitor in making sure we didn’t forget to add our bit to each of the sheets as the day went on.  We weren’t quite sure what we would do with them today, but to our wondrous surprise he and Joyce hung them from the rafters and we closed our week by each cutting a section to take home.

Here is a view of one of the four sections still hanging but after we removed our bits.  Quite fun to see the results of our spontaneous marks.

So ends another wonderful week in calligraphic paradise.  Back in September to wrestle with the pointed brush under the masterful tutelage of John Stevens.

Cheerio Days Two and Three

We’ve been busy bees here in God’s country.  Lots of wonderful writing.  Watercolor backgrounds from palettes of three colors. Writing with different tools and materials.  Here are two of my own that have reached a reasonable state of completion. Now back to work!

Cheerio Day One

First day and what fun we’ve had.  Blind contour writing and color mixing with lots of exercises involving sumi ink, graphite pencils and watercolor.  This photo was taken at the end of the day and represents blind writing of an early Greek alphabet and colors developed from a simple palette of Daniel Smith watercolors – quinacrodone gold, quinacrodone coral and phalo blue (RS).  Finding all those mysterious browns and grays was both challenging and wondrous.

Cheerio in May

It’s a wonderful rainy morning here in beautiful North Carolina.  The swallows are busy nesting in the eves of the craft house and the fog has settled in for a while.  What a great way to start the week.   I’m spending the week with Laurie Doctor and those of you who don’t know here work should peruse her website. She’s an amazing artist and teacher.  The other half of the class is working with Denis Brown on his polyrhythmic techniques.  We’re lucky to have wifi now, so I’ll try to post some photos in the evening.  Needless to say Cheerio is the closest thing to a calligrapher’s heaven on earth.

Parke County Covered Bridge

While I’m in watercolor mode, here’s another.  This one is from a photo I took out in Parke County Indiana, the covered bridge capitol of the world. We were there in late October when there was very little foliage left on the trees.

Those of you who subscribe to Bound and Lettered might remember seeing it there in an article I wrote about using masking fluids.  The white portions of the bridge, the rocks and some of the larger areas of white on the trees were masked. After it was removed from the bridge, the grey tones and lettering were added.


Clicking on the graphic it will open a larger copy in a new window where you can see more detail. The rocks and under the bridge have a slightly shiny take to them where I used brushed gum arabic to create a wet look. The white areas of the trees are sgraffito.  I removed the color with a fritch scrub brush and an exacto knife.

Watercolor Inspiration

I enjoy painting with watercolor.  The transparency allows for color mixing and blending unlike either oils or acrylics.  I try to have a camera handy when we travel and keep a digital file of reference photos.

This watercolor is loosely based on a photograph of a bridge in the Blue Ridge mountains near Roaring Gap, NC.  The aging stonework offered such an array of earthtones balanced against the trees and sky.

Click on the thumbnail for more detail.


Acrylic Mediums

 Back to the studio.  This week I’ve been working with acrylic mediums.  For those who aren’t familiar with acrylics, the various gels, pastes and liquid mediums allow for shapes and color to be applied in various glazes and textures. This also allows for lettering on and between layers.  For more detail click on the thumbnail.

This is a 16×16 canvas collaged with unpainted double shuen.  It was then covered with a layer of white wash so that when it was dry I could use water media to write and also to allow me to impress letters into the surface.  If you look closely at the detail below you’ll see small block letters rising like bubbles from the sea.

There are more collaged papers giving the illusion of fish. The raised “seaweed” was created with gesso thinned with matte medium applied with a squeeze bottle. The illusion of sand was created with mica gels. The various layers of color are acrylic glazes.  I’ve posted the work here before any lettering is applied so that you can see the underlying structure more easily.