
It’s no secret that I love using water techniques. I love the spontaneity and the often surprising results. I’ve been experimenting with suminagashi the last week or so. Although similar to more modern marbling techniques, it is a very old technique, and has the benefit of needing only water and ink rather than all the preparation for oil based marbling. For me, I like the informality, the more delicate colors and textures along with the less structured forms.
I’m fortunate to have a very large (and very old) concrete double washtub in a basement laundry room. Couple that with our daughter’s left behind dark room materials and I have a made to order suminagashi playground.
The trays are made for photo developing and come in myriad sizes. These are large enough to accomodate an eighth sheet of Arches velin. I elevated them to a more workable height using plastic storage milk crates. Definitely saves your back. One tray is for the ink and the other for rinsing.
You can purchase sets of suminagashi inks from art supply catalogs. They work well, but I’m not particularly fond of the colors. They’re very bright, but they blend well and with a little mixing you can get some lovely browns and greys. You can also experiment with acrylics for a more water resistant design.
 For black, I use ordinary bottled sumi inks. The brushes are inexpensive Chinese hair. The most important ingredient is either Ox Gall or PhotoFlo. The latter one can get it from photographic dark room suppliers. Add a drop or two to each color and to your clear water. It makes the ink float on the surface rather than sink. Go easy, you can always add another drop or two if the colors are sinking.
Loading one brush with clear water and the other with ink, alternate lightly touching the water. Traditionally it’s done in concentric rings and you can find several Youtube videos to see the technique. But there are many ways to create shapes floating on the water.
Experiment with touching the water in different places, alternating clear with sumi, lightly brushing or fanning the water or blowing on the surface gently. When you think you have a design you like, hold the paper with a slight bend in the center (so it touches the water first) and lay the paper gently on the surface. You can ink only one side, flip the paper over, or submerge it to allow the ink to flow over the top of the paper. The more you disturb the ink, the more spontaneous the designs. Rinse them gently to remove the excess ink.
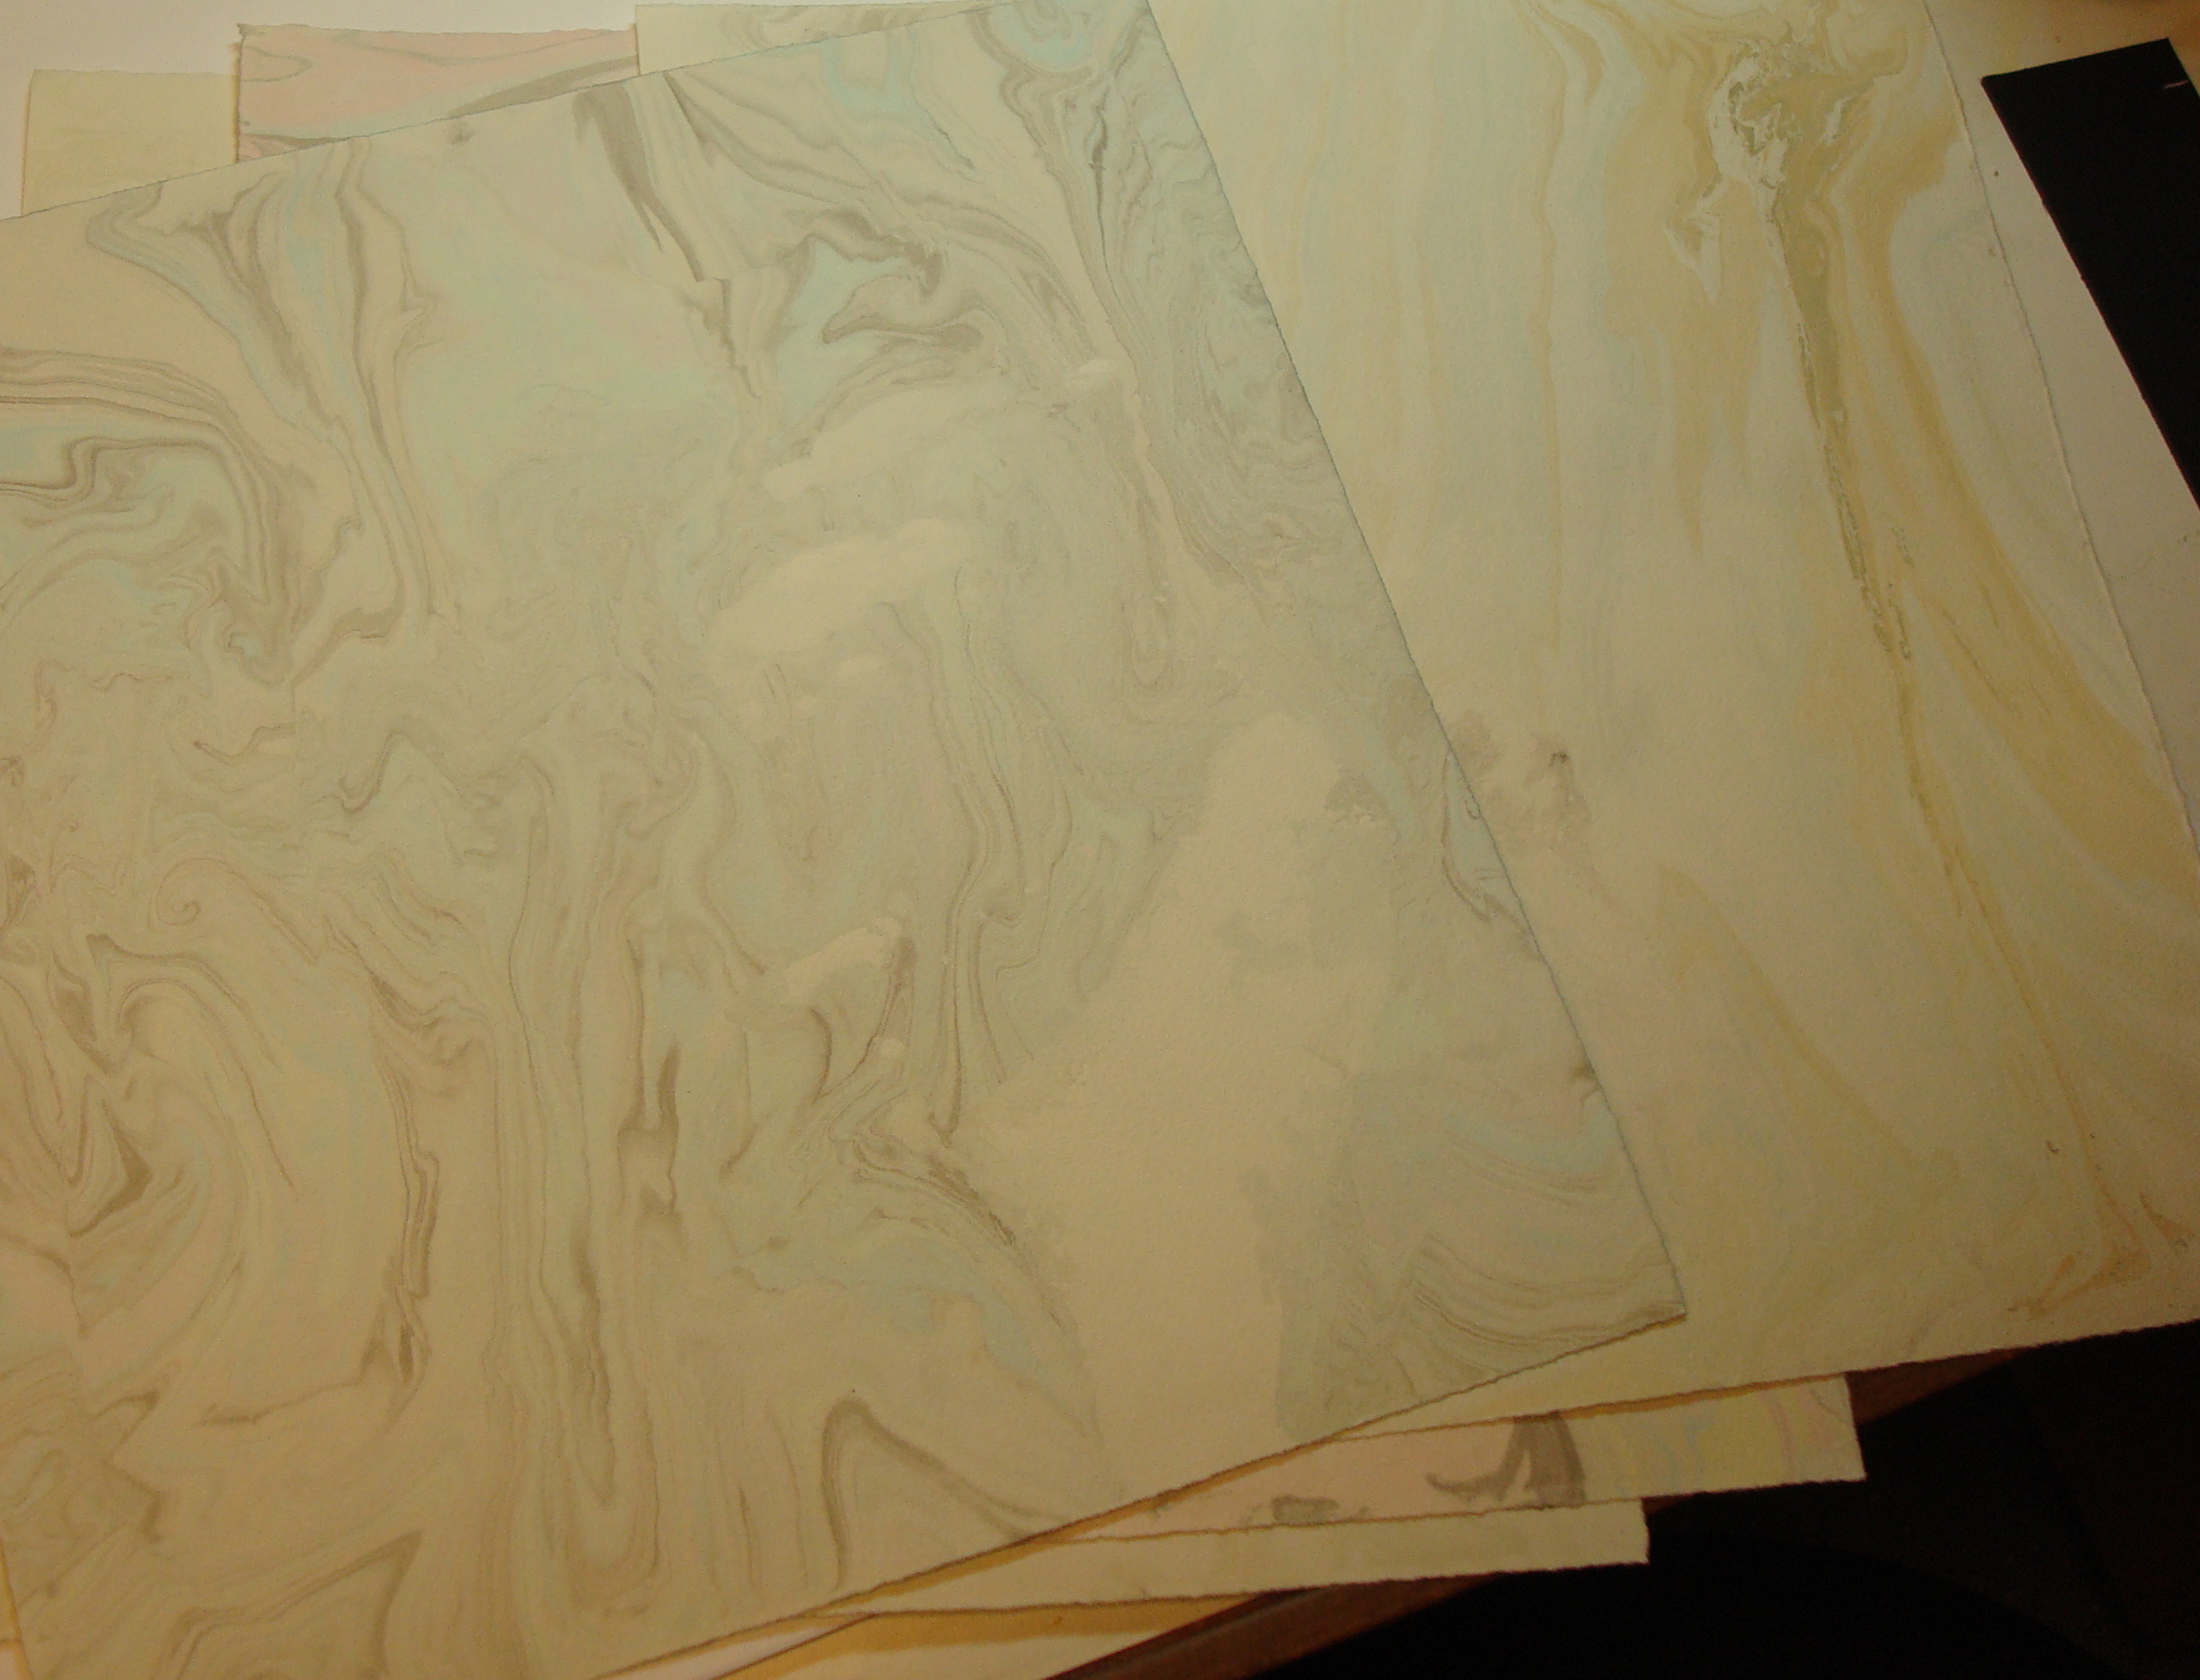
 I hang them on a clothes line to drip dry. It’s not necessary but I then place them between blotting paper and into a paper press to completely flatten and dry. The rest is up to your own imagination. End papers, covering book boards, backgrounds for lettering, the possibilities are endless. The patterns are so lovely, you may find them attractive all on their own. Enjoy!